Choose Help → Start Tutorial to replay the welcome introduction and restart the guided walkthroughs. After the introduction, callouts highlight the controls to use next. The pink getting-started checklist is a separate three-step progress panel.
The guides cover creating and editing a table, endpoint, API request, page and event. They adapt to the resources already in your selected workspace. For example, a new workspace starts at Database; after creating a table, the next guide helps you add a field and a row.
Use the action button in each callout, such as Go To Database, Add Field or Open Tests, then complete the highlighted form. Some steps advance automatically when the new field, command or resource is saved. Other steps have Next or Done buttons.
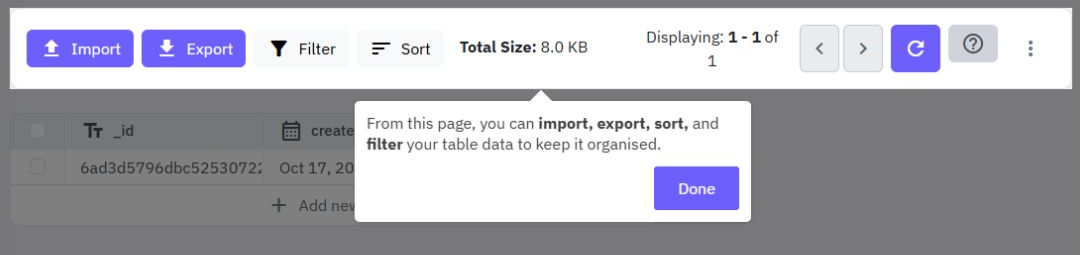
Open a table, endpoint, API request or page and use its Help → Start Tutorial option. Event editors have the same option. Endpoint and event guides switch to Stack so their highlighted sections are available. The page guide returns to the page canvas if you were editing a nested function.
Replaying a guide resets its tutorial progress. It does not delete existing resources. Following actions can create or edit real resources in your selected workspace, so use a workspace suitable for learning. Your normal plan allowances apply.
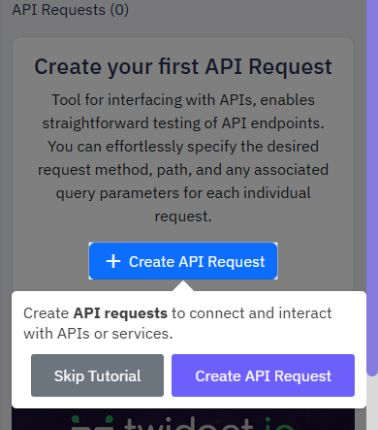
Choose Skip Tutorial to open a confirmation. Cancel returns to the same step. Confirming skip dismisses the current editor guide; skipping a creation guide skips the creation guides together. You can restart them from Help.
Done and confirmed skip wait for tutorial progress to save before closing. If saving fails, a short message stays in the callout; choose the same action again to retry. Your existing editor work stays available.
Walkthrough callouts fit within phone and tablet screens, and their buttons wrap when needed. The workspace menu opens when a navigation link needs highlighting and closes when the guide moves to a page control. On short screens, scroll within the callout if its content does not fit.
See Finding your way around for navigation and Getting started checklist for the checklist.
What is Twidget?
Twidget is a powerful no-code platform designed to empower users to create APIs, trigger scheduled events, and more without any programming knowledge. It is built to simplify the development process, allowing non-developers to efficiently manage and deploy APIs with ease. Key Features. Twidget provi...
Finding your way around
The sidebar groups related tools so you can spend less time scrolling. Choose a section to show its pages. You can keep several sections open at once; choose an open section again to close just that section. Where to find each tool. Home returns to your workspace's starting view. Dashboard stays dir...
Task Management App Overview
The Task Management app created using Twidget serves as a practical demonstration of building a functional web application by leveraging no-code tools. This application enables users to add tasks with specific attributes and to view a list of all tasks in a structured interface. Key Concepts. The ap...
Getting started checklist
The pink checklist button in the top bar helps you create your first API. It is available on desktop, tablet and phone until you complete the checklist. Complete the three steps. 1. Create your first table opens Database. Create a table in the selected workspace. 2. Build your first endpoint opens A...
Frequently Asked Questions
What can I do with Twidget?. The sky is the limit when using Twidget. That’s the beauty of a highly customizable and easy-to-use development platform. You can build your online business marketplace, create an app prototype, connect third-party APIs, track and measure performance, and so much more. O...