Sign Up
Loading...

Commands in Twidget

Watch the walkthrough
Commands

Explore the command builder and assemble a workflow from commands.

Recorded with an earlier Twidget interface. Names, control locations and available options may differ; use the linked documentation for current guidance.

Watch tutorial (3:32)

Browse all video tutorials

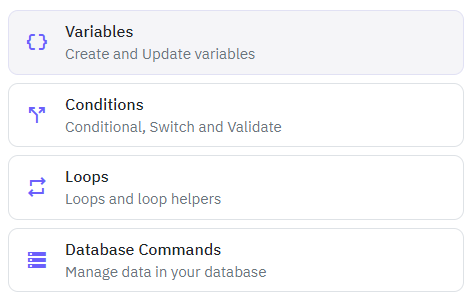
Commands are the building blocks of Twidget's no-code platform. They function like code statements and can perform various operations such as creating and updating variables, loops, conditionals, retrieving and manipulating data in the datastore, and much more.

Creating a Command

  1. Navigate to the Commands section of your builder.

  2. Click on Add Command. This will open a sidebar.

  3. In the sidebar, you can:

    • Select the command you want to add.

    • Use the search bar to find a specific command.

    • Access your custom functions as commands.
Inputs and Outputs

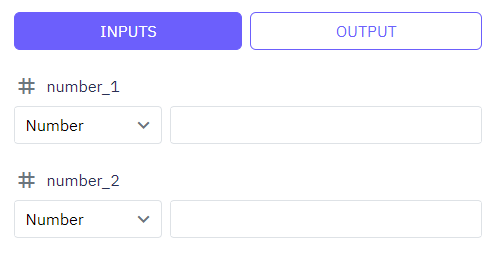
When you add a command, some commands will require inputs, while others provide outputs that you can use in other commands.

  • To see a comprehensive list of built-in commands and their details, click here.

Managing Commands

Viewing Commands

You can view all your commands and preview their inputs and output variable

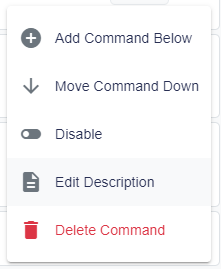
Adding Descriptions

For better understanding and managing your business logic, you can add custom descriptions to commands.
Editing Commands

To edit any existing command:

  1. Click on the command you want to edit.

  2. Change its inputs/outputs as needed.

  3. Save your changes.

Get help while editing

When a command has a guide, select the help icon beside its name in the editor header. Its label is View documentation. The guide opens in the documentation panel, keeping your unfinished command changes.

This example shows the help icon beside Has Record, above the command's input and output controls.
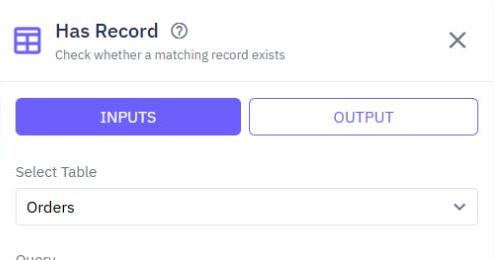
Close the documentation panel to continue editing, then save the command when you are ready. Opening a guide does not save or publish your changes.

Deleting Commands

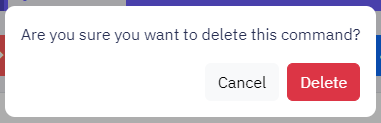
You can delete a command by selecting it and choosing the delete option.
Nested Commands

Some commands allow you to add child commands, for example:

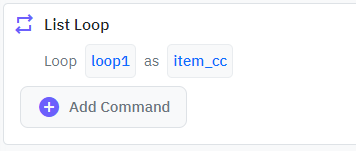
  • Loops: Iterate over a set of items and execute commands for each item.

  • Conditionals: Execute commands based on specified conditions.

Special Commands

  • Return Commands: These commands will halt the execution of the current function, event, or endpoint.

By leveraging these commands, you can create complex workflows and business logic without writing a single line of code.


Related Topics

Publishing Changes

With Twidget's publishing feature, you can seamlessly push your changes live, ensuring that your updates take effect on the specified endpoint, function, or event. This feature also allows for version control, enabling you to revert and manage different versions of your changes effectively. Steps to...

Test suites

Test a customer journey across several endpoints in a single ordered run. For example: sign in, create an order, retrieve it, then check its status. Every run shares its own isolated database across its steps. Your workspace records are not changed by those database actions. This version supports is...

Variables

Variables are essential building blocks in Twidget that allow you to store and manipulate data dynamically within your no-code applications. They enable you to create flexible and interactive applications by holding values that can be changed and referenced throughout your workflow. Creating Variabl...

Output

Each function also has an optional output where you can return an output variable. To simplify the use of functions, you can define an output schema. The output schema acts as an internal documentation detailing what the output of the function will look like. This makes it easier to understand and u...

Reusable Middleware

Middleware is a reusable workflow that runs before or after an endpoint, function or event. Build it once, then apply it wherever you need the same input checks, response formatting or logging. Create middleware. Open Middleware from the sidebar and choose Create Middleware. Give it a clear name, su...