Send updates progressively while an endpoint is running, instead of waiting for one final response. This is useful for progress messages or generated text that your app can display as it arrives.
Open the endpoint and choose Update endpoint.
Set Response mode to Stream and save.
Add Send stream event where an update should be sent.
Supply its data and, optionally, an event name, ID or reconnect hint.
Add Close stream when the response is complete.
Publish the endpoint when it is ready for your app.
Existing endpoints use Standard by default. Streaming is an endpoint response mode; use it only when the caller understands event streams. Customer authentication, permissions and rate limits still apply.
Click the Send Stream Event command row to edit its inputs. Set data to the value to send; event, id and retry are optional. The example below sends a progress update with two data fields.
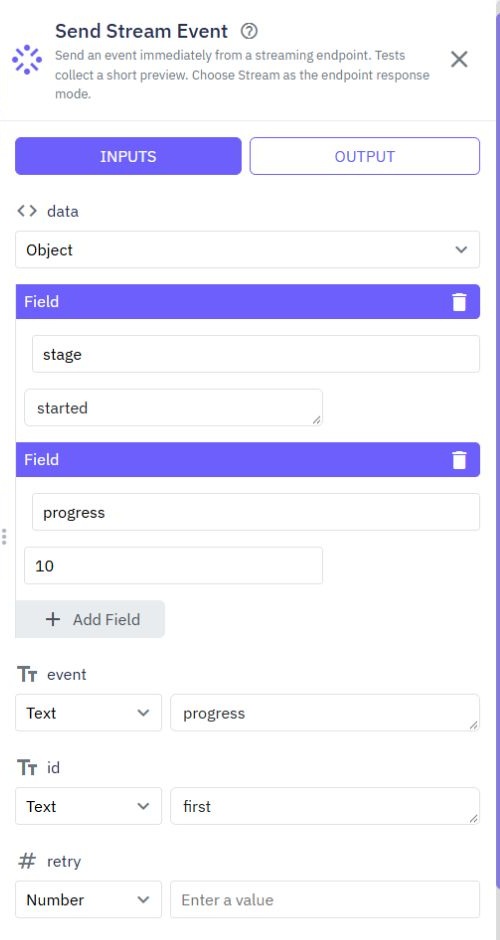
Streaming responses use status 200 and the event-stream response type. You can add safe custom response headers, but cannot override the stream’s content type, content encoding, caching or buffering settings. Incompatible response status or reserved headers are rejected.
Once the first update has been sent, the response has already started. Later failures cannot replace it with a normal error response. Your app should handle an interrupted connection and check any lasting result in your database.
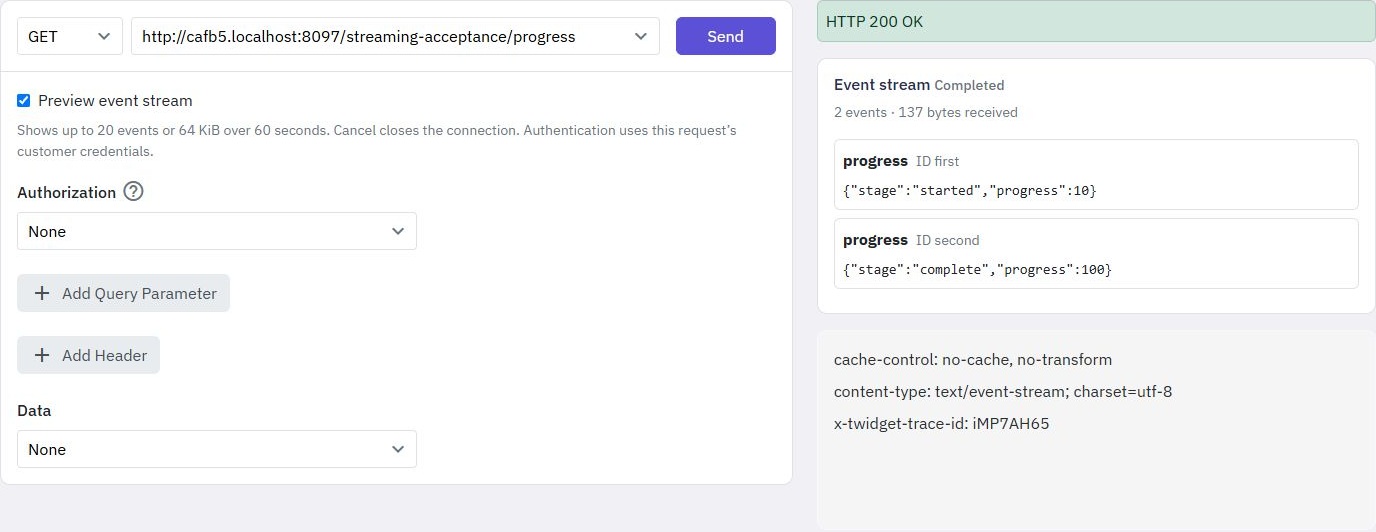
In the API Client, choose the endpoint and enable Preview event stream before sending. Updates appear as separate events as they arrive. Use the request's normal customer authentication. Select Cancel to close the connection.
The preview shows up to 20 events or 64 KiB over 60 seconds. Reaching this preview limit closes its connection; it does not mean a full production response has to contain only 20 events. Values are shown as text rather than executed as page content.
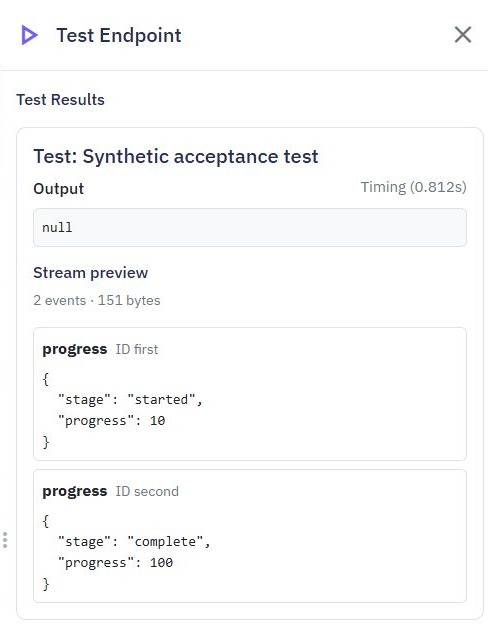
An endpoint's editor test also shows a bounded stream preview with its test results. Tests use the endpoint's selected test-data behavior; they do not turn the editor login into a customer login.
Use Streaming HTTP Request through a published API endpoint to consume another service’s event stream. It can also sit in a server function called by that endpoint. This command does not run external streams in editor tests, events, background jobs or test suites. For a complete check, publish a synthetic endpoint in your Dev workspace and call its local or development API address with safe test data.
Configure the external request’s URL, method, headers, body and timeout using the familiar HTTP request controls. Use headers with secret-variable references when the service requires authentication. Connector accounts and file uploads are not supported by this command. Supported body formats are None, JSON, HTML, XML, Form (application/x-www-form-urlencoded) and Text.
Send Stream Event and Close Stream still support the endpoint editor’s bounded test preview; that preview does not open an external stream.
Choose an event variable name, such as event, and add commands inside the container. They run for each received update. The event contains event, data and, when supplied, id and retry. data is text; parse it only when the service says it contains JSON or XML.
Use Continue loop to skip to the next update, or Break loop to stop reading. The event variable is available inside this container. Afterwards, its Return as value contains event_count, byte_count, status and closed.
The service must be publicly reachable and provide a supported event stream. Existing external-request security restrictions still apply. The stream has time and size limits so it cannot run forever.
A stream belongs to one HTTP request and ends when that request finishes. Realtime channels are useful when an app needs separate live notifications from multiple workflows over time. Store important data in your tables in either case.
Action Stats
Action Stats gives Twidget administrators a history of endpoint calls and event runs. It is an admin tool, rather than a workspace feature available to every team member. Find a run. Open Action Stats in the admin sidebar. Filter by workspace, organization, action type, test or real call, result, st...
Response Settings
You can customise the successful response from an endpoint, including its status code and additional headers. Configure a response. 1. Open the endpoint and its Output editor. 2. Select RESPONSE. 3. Choose a status code or select a variable from the commands section. 4. Add a response-headers object...
Authentication
Twidget supports Bearer Authentication to ensure secure access to your endpoints. You can specify which endpoints should be secured or open. Once secured, an endpoint can only be accessed using a valid Bearer Token, which is generated via our API. Additionally, we provide functionality to generate a...
Creating Authentication Endpoints
Follow these steps to create authentication endpoints in Twidget: Step-by-Step Guide. 1. Navigate to API Tab: - Go to the `API` tab in your Twidget dashboard. 2. Create New Endpoints: - Click on the `Create Endpoints` button located at the top right corner. 3. Select Authentication: - In the newly o...
What is an API
An API (Application Programming Interface) is a set of rules and protocols that allows different software applications to communicate and interact with each other. It defines the methods and data formats that applications can use to request and exchange information, services, or functionalities from...