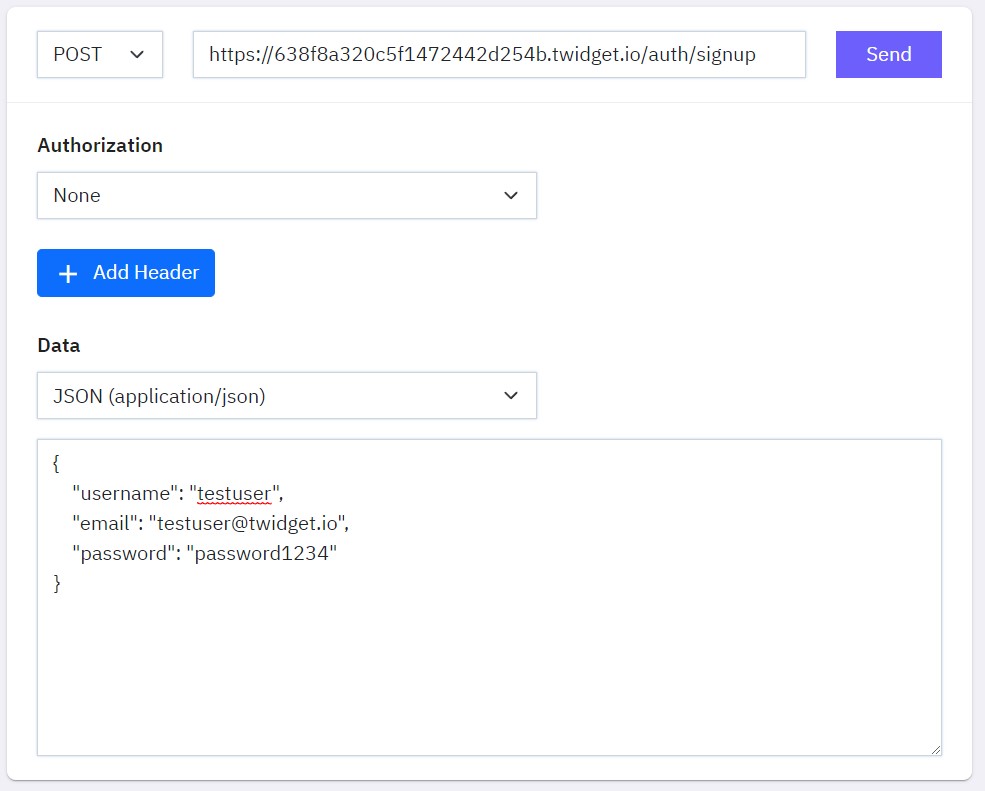
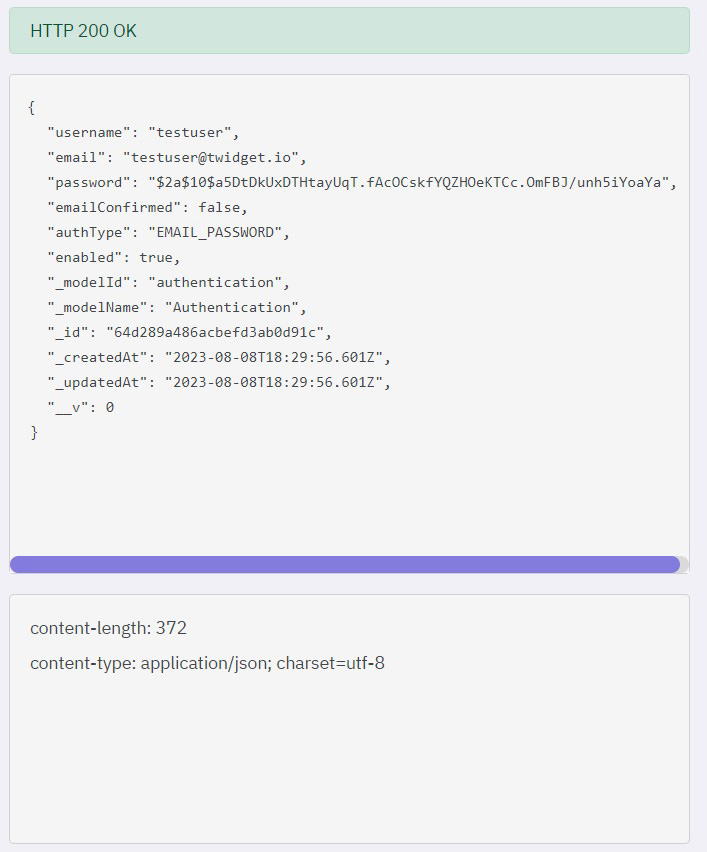
Continuing from the previous "Getting Started" tutorial, our current objective is to create an Authentication user and obtain a server-generated token for authenticating future API requests.

The API URL will be available after a successful build.
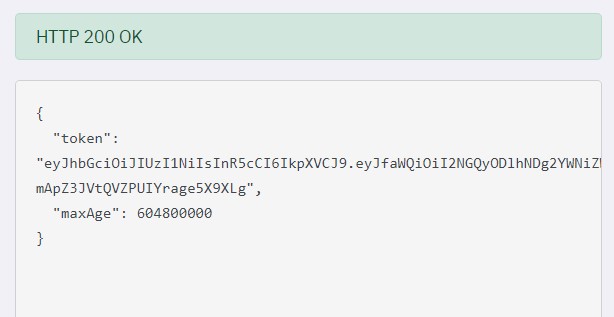
The following authentication endpoints can be visible in the "API Preview" dialog.
Next Steps: Send a request to a secure endpoint
1. Getting Started
Let's start by initiating a brand-new Workspace. This Workspace will serve as the central hub where you'll manage all the resources for your API. Think of it as a dedicated playground where you'll create and assemble the essential building blocks that drive your API's development forward. Start by c...
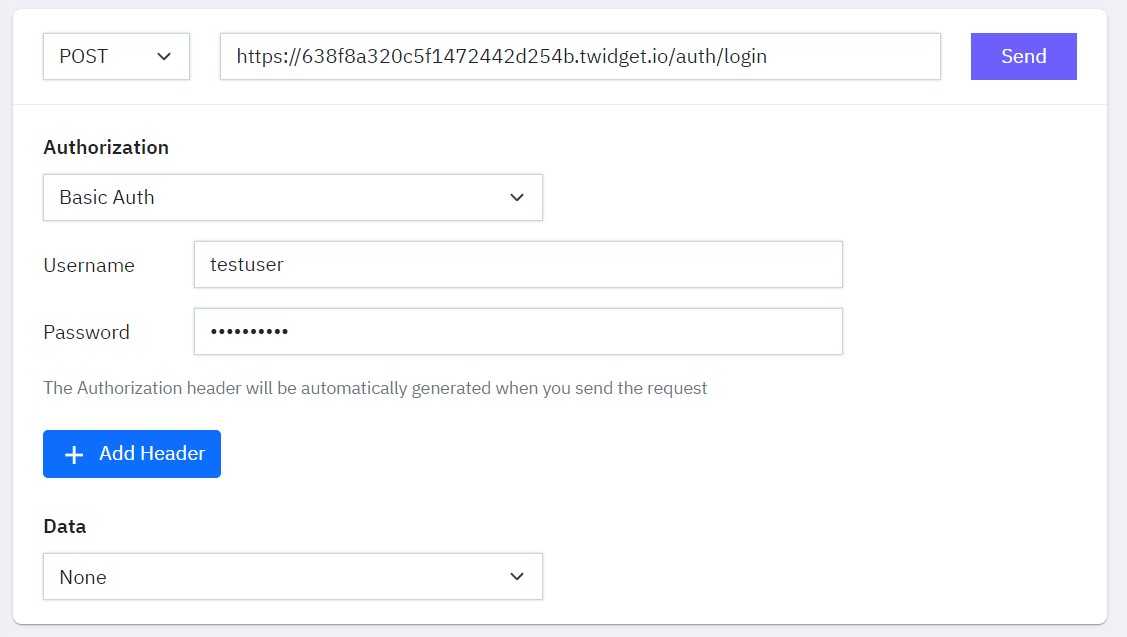
3. Send a request to a secure endpoint
Following the previous tutorial "Creating an Authentication User", we will now proceed to send a request to a secure endpoint using the generated authentication token. Having obtained your authentication token, initiate a POST request to the specific endpoint you created earlier. Ensure that the req...